(Warning: Lots of pictures. Fairly long posting.)
Very recently, I enjoyed a very special ten days with son Will. He had signed up for a class at the North House School (click on the name to learn more) in Grand Marais on timber framing. His goals were to learn timber framing skills and to prepare all the timbers necessary to build a sauna for his lake property in the process. He had asked me to be his assistant, and I was delighted to accept. Here is the project we worked on and finished together. (Sometime next summer, Will will prepare a foundation and then invite a group of us to assist in assembling the timbers and erecting the structure. Subsequently, he will apply exterior and interior walls, doors, windows, etc.)
 There were four groups enrolled in the class. Three of them are receiving an initial orientation from instructor Peter here. The fourth team arrived a day later. Other groups built a storage shed with a loft for their grandchildren to enjoy, a porch addition for a timber-framed house built in a prior class, and a room addition for a timber-framed house built in a prior class.
 One of the first lessons was on timber selection. There are lots of things to consider when choosing the timbers for such structures. You have to take the locations of knots into account, and there may be defects such as checks (cracks), shakes (separation along growth rings), or other issues to plan around.
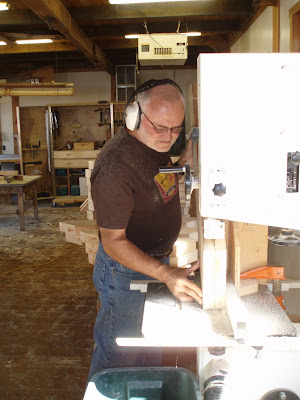
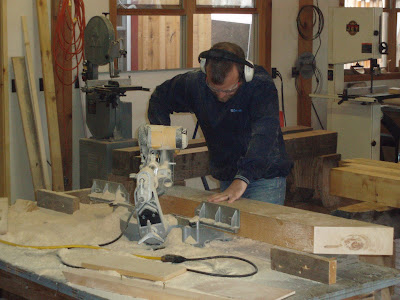
 Although many tools were familiar to us, there were some surprises. I'd never previously seen these large circular saws, which can cut to a depth of 6" as opposed to the usual 3" or so. Frankly, I found these saws a little intimidating, but Will really mastered using them to cut good square ends.
 Here is Will moving one of our first timbers into the shop. That is Lake Superior in the background. We worked beside the lake the entire week! Note the handy cart, which made moving these heavy timbers quite easy. This particular one probably weighed in at 300 pounds or so.
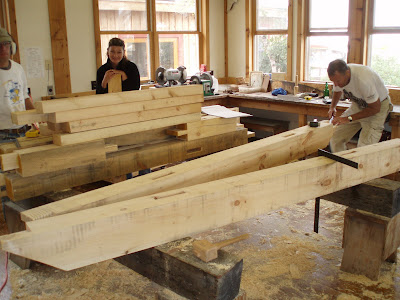
 Perhaps the most demanding aspect of the work is measuring. We were expected to get each timber, for which we had detailed drawings, and its associated tenons, mortises, and other cuts positioned to very precise specifications. Peter taught us many techniques and the use of some interesting measuring tools and expected measurements not to vary more than a 1/32". If you do this all correctly, then the finished timbers should all fit together perfectly at the final location.
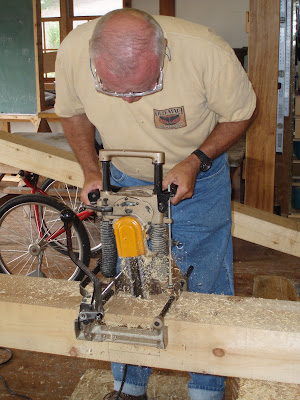
 We used a tool called a chain mortiser to cut mortise slots. You can think of it as being like a tiny chain saw mounted on a special vise, which you plunge down into the timber. After using this tool, we cleaned up each mortise with large framing chisels until exact 1-1/2" widths and proper depths were achieved. (We made lots and lots of sawdust during the class!)
 Here is proof that Will mastered that big circular saw. We wore hearing and eye protection at all times.
 The first evening, the school threw a "pizza potluck", which involved their providing the pizza dough and everyone in the various classes bringing toppings to share. It was a nice get-to-know-each-other event.
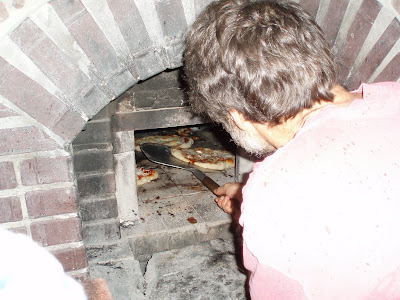
 Then the school director baked them in a hot brick oven that they had been firing all day. It was something like 600º inside, so the pizzas baked within a few minutes.
 Here is the school as seen from its dock on the lake. The buildings on the right were prior timber framing projects by introductory classes. Will's class was different in that he actually ended up with a completed structure of his own.
 This structure was to be auctioned off by the school at a later date. The red building behind it is the shop in which we worked each day.
 This photo offers a closeup of the kinds of joinery we did. We learned the terminology for the timbers too: posts are topped by plates with braces used to strengthen and square the structures and girts joining the bents that make up cross sections of the structure. I couldn't help but think about the barn on the farm where I was raised. That barn was made this way.
 On Wednesday afternoon, Peter had a half day off, so we decided to use that time to haul some of the timbers we had finished up to Will's lake property.
 We ended up making four total trips up there over the course of the week because of the weight limits of my pickup. The first two trips involved moving three 16' plates and several posts.
 Will has studied timber framing for quite awhile in advance of the class and is interested in using some of the old tools that were traditionally involved in the trade. He bought this antique boring machine and tried it out, making one entire timber strictly with it and hand tools (chisels, slicks, planes, etc.).
 We used a sliding miter saw to cut the 45º angles on all the braces. Will also eventually cut a nice curve on the side of each one.
 This stack represents the complete set of timbers that we manufactured during the week and which will make the structure appearing in the drawing at the beginning of this post. This was taken after the last of them had been hauled to his lake property.
 We covered them with tarps, where they now await next year's trips back to the lake to prepare the foundation. I really look forward to helping put this together and raise it, especially after having been involved in helping to make all the timbers. What a fun class this was and what a great opportunity to do something together with my son!





No comments:
Post a Comment